
What you get
Everything below comes on a successful try; a failed try gives nothing.
Loot
| Item | Amount | Chance |
|---|---|---|
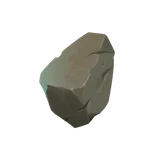 Stone Stone | 2 | 1 in 1.190% |
 Flint Flint | 1 | 1 in 205% |
 Fragile Totem Fragile Totem | 1 | 1 in 205% |
Bonus finds
| Bonus | How often |
|---|---|
| a roll on the table below | 2% of successes |
Bonus table (2% of successes)
| Item | Amount | Chance |
|---|---|---|
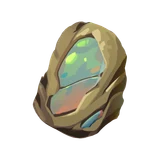 Rough Opal Rough Opal | 1 | 1 in 561.8% |
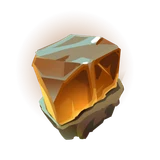 Rough Topaz Rough Topaz | 1 | 1 in 4990.2% |
Odds and speed
Each tier of pickaxe above the first adds 5 points to the chance of a success.
| Tool | Success per try |
|---|---|
 Copper Pickaxe Copper Pickaxe | 100% |
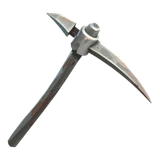 Iron Pickaxe Iron Pickaxe | 100% |
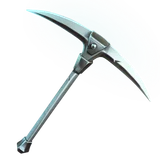 Steel Pickaxe Steel Pickaxe | 100% |
 Morion Pickaxe Morion Pickaxe | 100% |
A tool above the required tier also gives free successes: each tier over the requirement gives one success that does not count toward emptying the spot.
You can also hit it with a pickaxe as your weapon. Every 15 damage counts as one success, with no chance to fail. A hit with the lowest tier does 30 damage (45 with a heavy attack), and up to 51 with a much better tool and 10 levels to spare.
Rules in full: how gathering works.
Where to find it
It is not in the world at the start. It appears with one of these:
 Rejuvinate the Flower Field (stage 1), while it runs