
Before you start
A gathering spot can ask for three things:
- A skill level. For gathering skills this is your effective level, so a boost counts.
- A tool of a certain tier. The best matching tool you carry counts, whether it is equipped or in your pack. Pickaxes and axes come in Copper, Iron, Steel and Morion, from the first tier to the fourth.
- Bait, for some fishing spots. See bait.
Every gathering page lists all three.
Success and speed
Each attempt waits a moment and then rolls for success.
- Success chance is the spot's own chance plus 5 percentage points for every tool tier above Copper. Your level plays no part.
- Time per attempt is the spot's base time, trimmed by 5%, then multiplied by 1 / (1 + 0.015 x your levels above the requirement). That second factor never goes below 87%, which you reach about ten levels over, so without gear an attempt never gets shorter than about 83% of the base time. Gear that speeds up gathering can cut what is left by up to 90%.
A failed attempt costs nothing but time. The spot is not used up.
Copper ore, worked out:
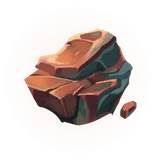 Copper Ore: needs Mining 1; base success chance 70%; base time 3.70s; 6 Mining XP per success; 2 successes before it runs dry; back after 45s.
| Tool | Chance per attempt | Free extra gathers per node |
|---|---|---|
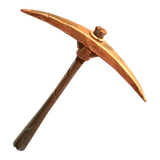 Copper Pickaxe Copper Pickaxe | 70% | 0 |
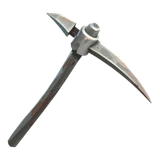 Iron Pickaxe Iron Pickaxe | 75% | 1 |
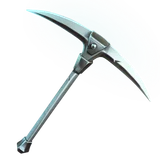 Steel Pickaxe Steel Pickaxe | 80% | 2 |
 Morion Pickaxe Morion Pickaxe | 85% | 3 |
| Levels above the requirement | Time before each roll | Share of base time |
|---|---|---|
| 0 | 3.52s | 95% |
| 1 | 3.46s | 93.6% |
| 2 | 3.41s | 92.2% |
| 4 | 3.32s | 89.6% |
| 6 | 3.22s | 87.1% |
| 8 | 3.14s | 84.8% |
| 10 | 3.06s | 82.6% |
| 20 | 3.06s | 82.6% |
Hitting rocks and trees
Most ore rocks and trees can also be gathered by hitting them with the right tool in your main hand. Each has a bar of gather health; empty it and you get one full gather, with no success roll. Damage past a full bar carries over to the next one.
- A hit does 30 damage, multiplied by 1 + 0.16 for each tier your tool has above Copper (never counting more than three tiers above what the spot asks for), and by 1 + 0.015 for each level over the requirement (never counting more than ten). A heavy hit does half again as much.
- The caps are there on purpose: a far better tool or a far higher level stops paying, so the best spot you can use stays your best spot.
- Where the spot asks for the lowest tier of tool, hitting it with anything else chips it for 1 damage a hit.
- Loot from hitting always scatters onto the ground around the spot.
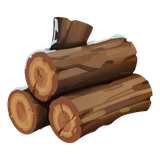 Poplar Logs: 57 gather health per gather.
| Tool | Hit at the requirement | Heavy hit | Hits per gather | Hit at 10 levels over | Hits per gather |
|---|---|---|---|---|---|
 Copper Axe Copper Axe | 30 | 45 | 1.9 | 35 | 1.6 |
 Iron Axe Iron Axe | 35 | 53 | 1.6 | 40 | 1.4 |
 Steel Axe Steel Axe | 40 | 60 | 1.4 | 46 | 1.2 |
| Morion Axe | 44 | 66 | 1.3 | 51 | 1.1 |
Running dry
A spot gives a number of successes, rolled when it refills, and then runs dry. The spot pages show the range.
- Every tool tier above the spot's requirement gives it one free success per refill: that success does not count towards running it dry.
- A spot refills a set time after its last success, whether it ran dry or not.
- Some spots use a flat chance of running dry on each success instead of a count. Those get no free successes.
What you get
A successful gather gives the spot's fixed reward, plus any rolls on its loot table (the same kind of table creatures use; see loot and drop rates). You also get the spot's experience and, on most spots, 6 curse.
Totems, the second way to manage your curse, turn up while mining, woodcutting and fishing.
Bait
Some fishing spots only bite with bait. The bait you use picks the loot table, so different baits catch different fish. Bait in your ammo slot is used before bait in your pack, and one piece is used up for each successful catch. Hitting a bait spot does nothing.