What you get
Everything below comes on a successful try; a failed try gives nothing.
You need bait in your ammo slot or your bags. One is used up per catch, and the bait decides what bites. Bait in your ammo slot is used first; otherwise the spot takes the first bait it finds in your bags, in the order listed here.
Bonus finds
Odds and speed
Each tier of fishing rod above the first adds 5 points to the chance of a success.
A try gets quicker the further your level is above the requirement, and stops getting quicker at ten levels over. These are the server's times. Your game client sends each repeat on its own timer, and the server skips a repeat that arrives before it has finished the last try, so the pace you see can be slower.
| Your level | Try takes | Successes a minute |
|---|
| Fishing 23 | 3.9s | 10.0 |
| Fishing 28 | 3.6s | 10.8 |
| Fishing 33 | 3.4s | 11.5 |
| Fishing 43 | 3.4s | 11.5 |
| Fishing 53 | 3.4s | 11.5 |
| Fishing 73 | 3.4s | 11.5 |
A tool above the required tier also gives free successes: each tier over the requirement gives one success that does not count toward emptying the spot.
Rules in full: how gathering works.
Where to find it
Areas on the overworld are the wiki's best guess from nearby landmarks.

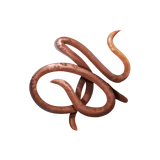 Worm
Worm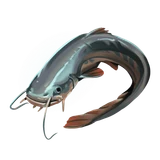 Catfish
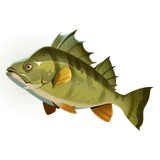 Perch
Perch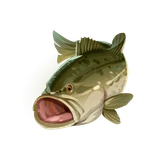 Bass
Bass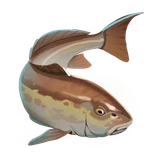 Freshwater Drum
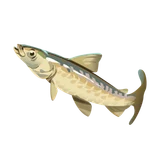 Cisco
Cisco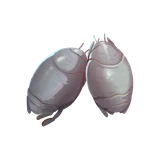 Sand Flea Bait
 Dough Bait
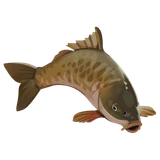 Carp
Carp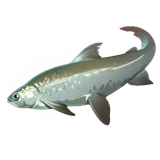 Whitefish
 Chum
Chum Fragile Totem
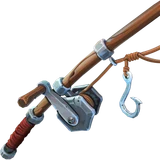 Fishing Rod
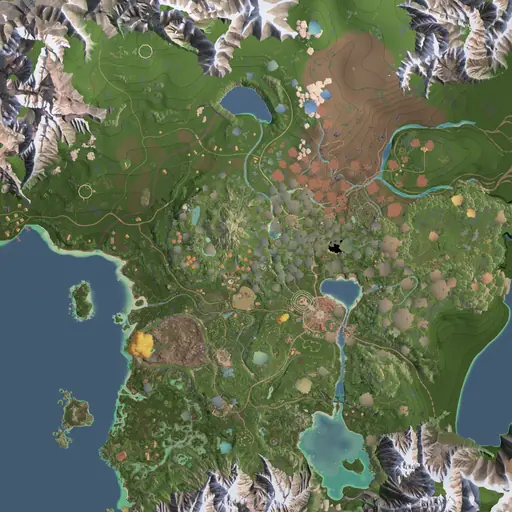 Open on the map